
")
 Deutsch (Deutschland)
 Français (Belgique)
 Nederlands (België)


ARE YOU LAYING THE LAMINATE YOURSELF? FOLLOW OUR 10-STEP PLAN.


Do you plan to lay laminate flooringfor the first time? You need to be prepared. Read the full, step-by-step plan here, and prepare yourself to lay laminate in no time!
Step 1: Ensure the surface is smooth and remove your current floor
If you are renovating, it’s important to completely remove the current floor and skirting boards. Do not forget to remove nails and other irregularities, especially with a wooden floor. First and foremost, the correct underfloor must be used for the type of load-bearing, smooth floor or screed.Step 2: Choose & lay the correct underfloor
Choosing the correct underfloor is not to be underestimated. A good underfloor ensures a smooth surface with good sound absorption and moisture prevention. Some factors to take into account when choosing your underfloor:- Levelling capacity: to what extent you can eliminate the unevenness in the base floor with the underfloor.
- Heat insulation: the extent to which the underfloor will retain heat in a room.
- Sound dampening: the extent to which the underfloor can dampen the sound.
- Moisture and vapour tightness: to what extent the underfloor can keep moisture away from the laminate.
Step 3: Acclimatise the laminate
After the laminate flooring has been delivered, it’s best to allow it to acclimatise for 48 hours. Follow the tips below:- Leave the laminate in the packaging
- Place the laminate in the room it’s going to be laid in
- Place the laminate at least 50 centimetres from the walls
- Lay the laminate flat on the floor, do not lean it against anything
Following the tips above will ensure the laminate stays in top condition. If the laminate is leant against a wall, there is a good risk that it will bend. By allowing the laminate to acclimatise for at least 48 hours, the planks will not experience excessive expansion or contraction afterwards.
Step 4: Make sure you have the appropriate equipment
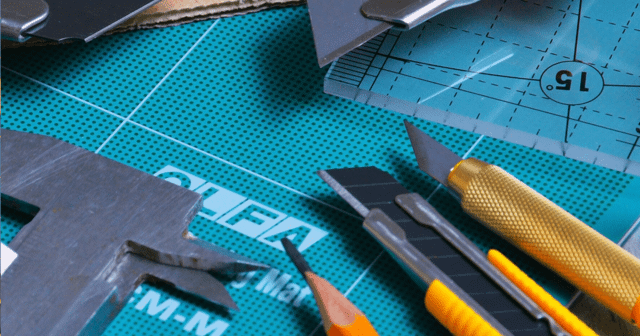 Schedule enough time to lay the laminate flooring. But don’t forget about the required tools and equipment. This will ensure the work is completed quickly and easily.The basic tools and equipmentrequired for laying a laminate floor are as follows:
- Spacers
- Laminate cutter or saw
- Profile gauge
Got everything? Has the laminate been acclimatised? Time to get down to business.
Step 5: This is how you start
Always start with the first plank in the corner. Place spacers against the wall and lay the first plank down. Our advice? Start with one third of a plank. This means sawing the laminate to the correct size. Always pay attention to the dimensions of the planks and the dimensions of the room. Each room requires a different ratio, it’s best to check this in advance so the laminate pieces are not too small at the ends.Step 6: Lay out all the rows
Then lay out the other planks from the same row. First start with the row that is against the wall. A shorter plank may need to be cut to the correct size at the end.Then start the second row. Use an uncut plank for this row to add variety to the laying pattern. Then lay the other planks in that row in the same way as the previous row.
For the third row, use one third of a plank again. This will give the floor an attractive appearance. Lay this row completely. Repeat the process until the entire floor has been laid.
Step 7: Be careful with the last row
Pay attention when laying the final row. It is likely that this row is not the full width of one laminate plank. This means the laminate plank will need to be cut lengthwise. Carefully measure the distance between the wall and the penultimate row. Saw the row to the correct size and click it in place.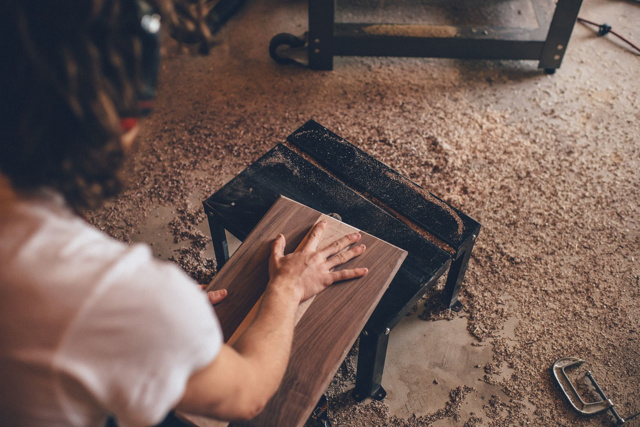 Step 8: Tricky corners and edges
Difficult corners, angles and/or pipes will undoubtedly add a challenge to the laying of the floor. A profile gauge is the best way to deal with this. Measure all the dimensions accurately and then transfer them to the laminate. This will ensure the laminate is laid perfectly, even in the tricky corners and edges.
Step 9: Installing skirting boards
The laminate floor is now laid. All that is required now is the installation of the skirting boards. The skirting boards can be glued into place, or fastening clips can be used.
Step 10: Admire the result.
It is complete. Finally, you can enjoy that beautiful laminate floor. Do not forget to take a picture of the result. We would like to know if it worked.
Do you have any questions? Please do not hesitate to contact us.
Do you have any questions? Please do not hesitate to contact us.